


Basic Operations (VCR Plus + Recording)
34
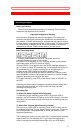
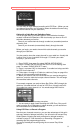
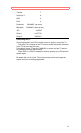
2. A small arrow points to a blank "--" in the Channel column. If your
broadcast channel number is the same as the VCR Plus+ channel in your
TV listing, do not enter any number. Press CHANNEL up or down to
position a nonmatching station next to the arrow.
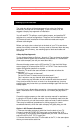
3. If your broadcast channel number is not the same as the VCR Plus+
channel in your TV listing, use the number buttons to assign the broadcast
channel to the corresponding VCR Plus+ channel.
If you enter a wrong digit, press CLEAR and enter the correct one.
In the example below broadcast channel #38 is assigned to VCR Plus+
channel #42.
4. Repeat step 3 for all channels that need to be assigned.
5. Press GUIDE to end the setup procedure. You are ready to begin
delayed recording with VCR Plus+.
Cable with a Cable Box Setup
Use this setup procedure if you receive all channels through a cable box.
Before you begin, you need to know the output channel for your cable box.
Usually this is either 03 or 04, but it could be 02 through 13. Consult your
cable company if you're not sure.
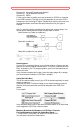
1. Connect the Cable Box, VCR and TV. See page 51.
2. Press GUIDE, then press 5 to select "INITIAL SETUP MENU".
3. Press 1 to select CATV2 with the ANT/CATV1/CATV2 setting, then
press 7 to select "CABLE BOX SET" menu.
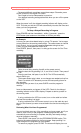
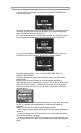
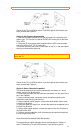
4. Press 2 to answer "YES" to the question "Is a cable box being used
with the VCR for all channels?" You will then see this screen:
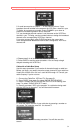
5. Enter the output channel of your cable box by pressing a number on
the remote. For example, press 0 3 for channel 3.
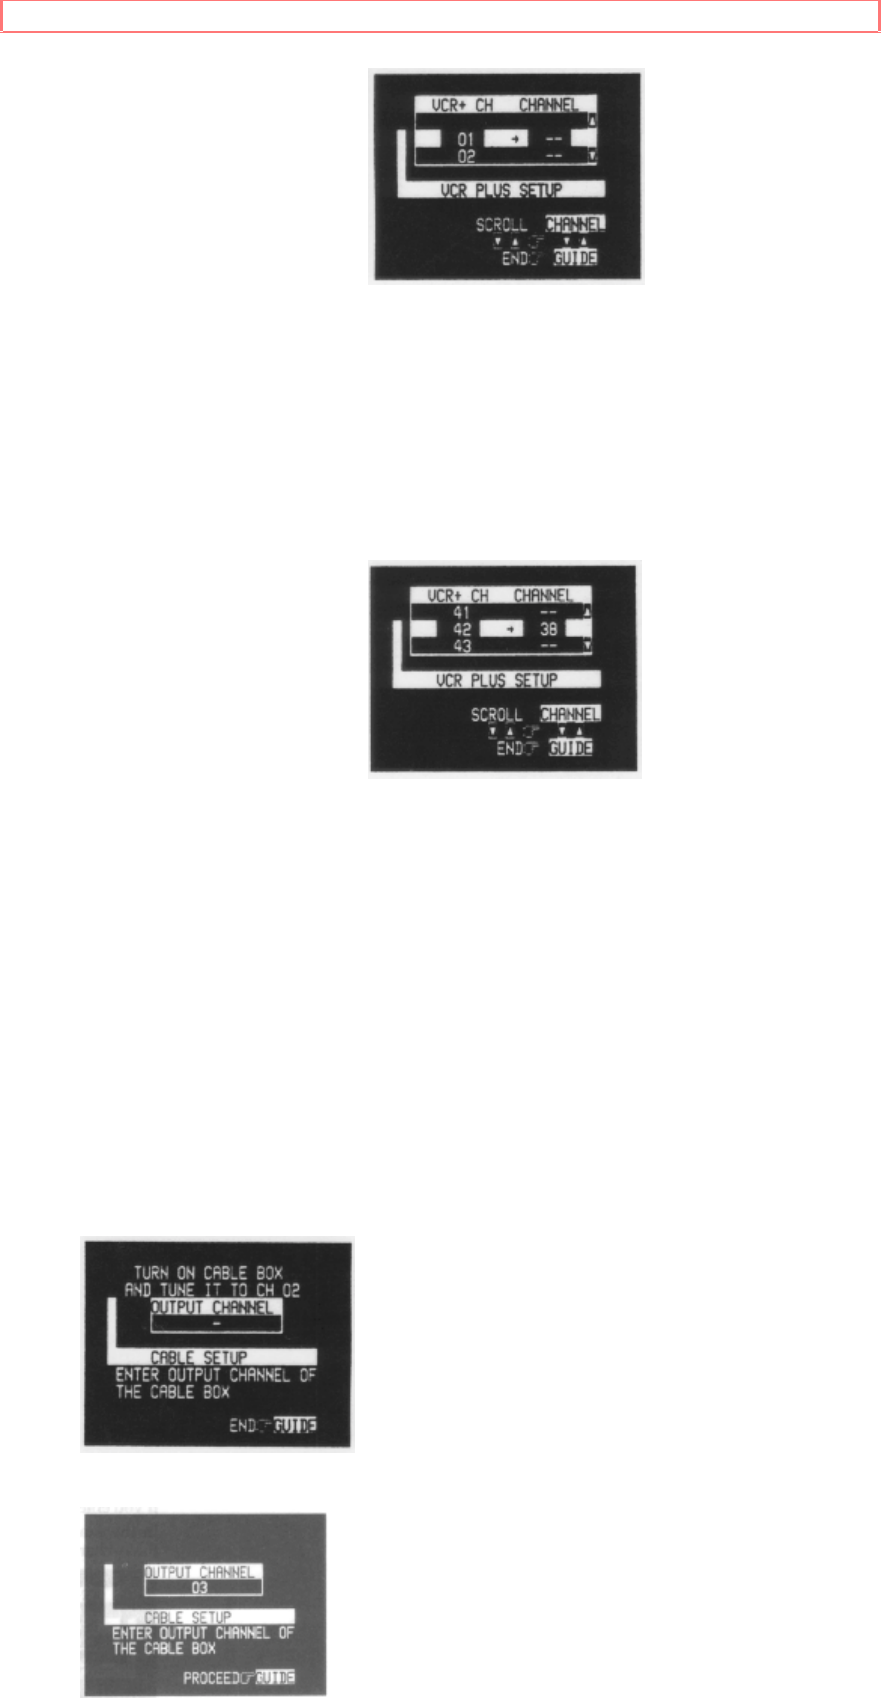
6. Press GUIDE to end the setup procedure. You will then see this
screen.