DVD CAM Software Support Center
Software Tutorials
Driver Installation Manual: How to install Hitachi driver(DZ-MV270)
Installing Hitachi Device Drivers for DZ-MV270
1. Terminate all the applications and insert the installation CD to the CD-ROM drive of your PC. If any anti-virus software
is running, deactivate the software during the installation.
2. Insert your DVD-RAM disc that contains video or photo into the drive of Hitachi DVD video camera / recorder and power
on Hitachi DVD video camera / recorder to the position of "VIDEO" or "PHOTO".
3. Connect PC and Hitachi DVD video camera / recorder using USB cable. For your PC, be sure to connect to the unused
USB port on the back of your PC. The red CHARGE/ACCESS indicator will be turned off following with beeping sound.
At this time, the CHARGE/ACCESS indicator is black and LCD and viewfinder are off. Your PC should recognize
Hitachi DVD video camera / recorder as "Found New Hardware".
4. The "Found New Hardware Wizard" dialog box should appear on your PC. Follow the instructions to complete the
installation referring to the Step-by-Step example below.’
Step-by-Step Example for Windows XP:
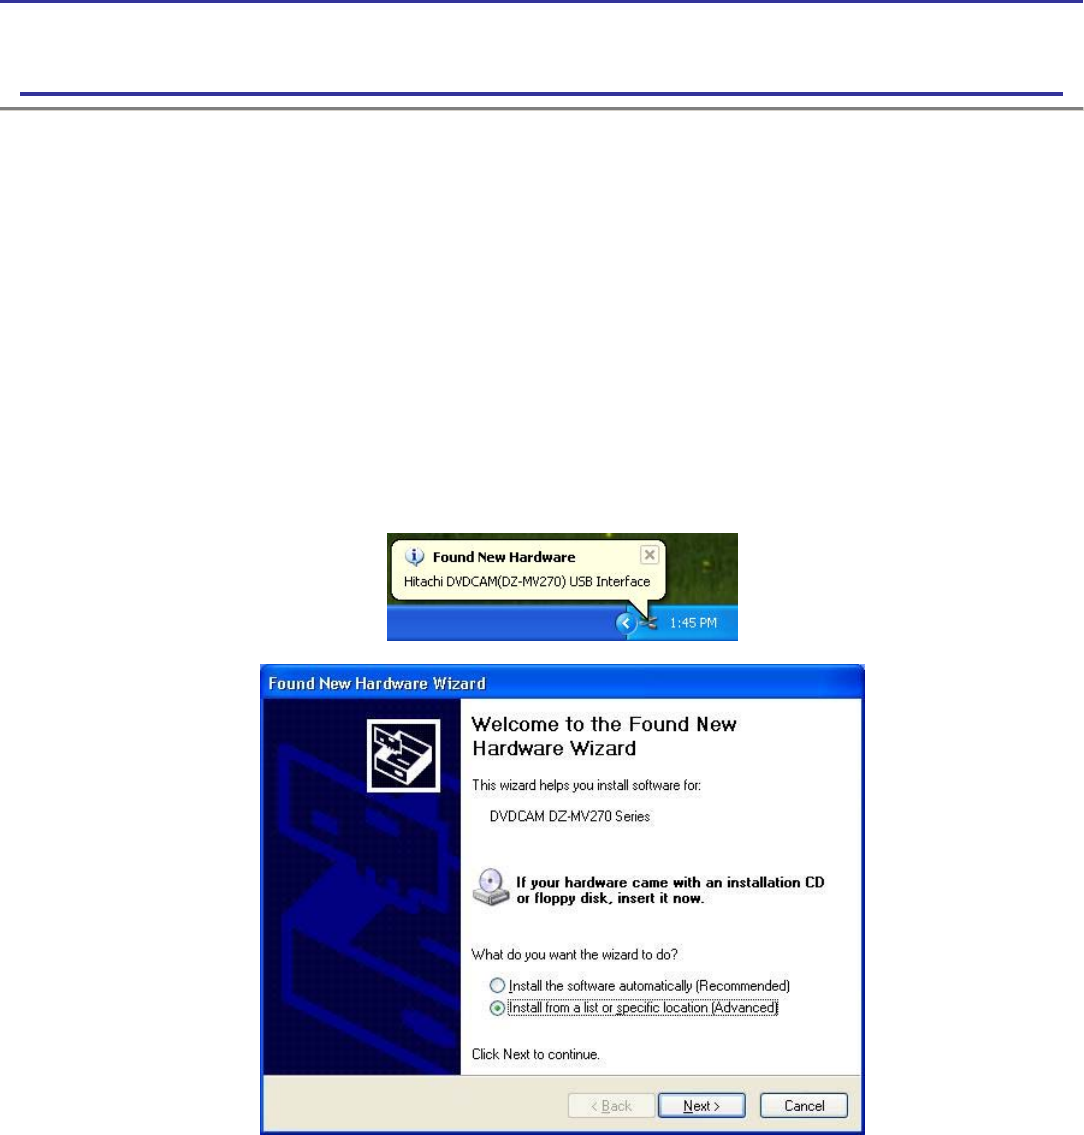
(a) PC recognizes the New Hardware attached to PC as the following in the task bar on the right below corner.
(b) The Wizard dialog box appears to install the USB driver. Select "Install from a specific location".


