


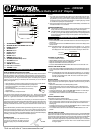
LOCATION OF CONTROLS
1. ALARM RESET Button.
2. SNOOZE/SLEEP OFF/RADIO OFF Button.
3. RADIO ON Button.
4. ALARM Button.
5. MINUTE Button.
6. CLOCK Button.
7. HOUR Button.
8. SLEEP Button.
9. DIMMER (Hi/Lo) Switch.
10. ALARM(OFF/RAD/BUZ) Switch.
11. VOLUME Control.
12. Clock Display.
13. AM/FM Band Switch.
14. Dial Scale and Pointer.
15. TUNING Control.
PREPARATION FOR USE
SURE-ALARM BATTERY BACK UP SYSTEM
This clock radio includes a battery back up system that will maintain the correct time
and alarm settings in case of a temporary power interruption. As long as the battery
has sufficient power, it will also operate the Radio or Buzzer alarm to wake you up
even if the power is ‘Off’ at your normal wake up time. The battery back up system
requires one 9 volt battery,(not included). We recommend you use an alkaline
battery for longest life.
• Open the battery compartment door, located on the back of the radio cabinet.
• Gently pull the battery terminal outside the battery compartment.
• Connect the 9 volt battery to the battery terminal. It can only be
connected one way.
• Push the battery and the terminal back into the battery
compartment.
• Replace the battery compartment door.
If the power is interrupted the clock display goes ‘Off ’. However the clock will
continue to run, powered by the 9 volt battery. When power is restored the clock will
come ‘On ’ again to the correct time. The alarm setting will also be maintained.
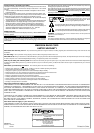
NOTE: If no battery is installed, or if the battery is exhausted and power is
interrupted, the time and alarm settings will be lost. When power is restored the clock
display will begin flashing “12:00 AM”. This is your indication that the time is
incorrect and needs to be reset. Don’t forget to reset both the time and the wake up
time.
A fresh alkaline battery should be able to provide back up power for up to a year in
normal circumstances. However if you live in an area that has frequent power
interruptions the battery life will be reduced. For best results you should install a new
battery every 8 to 12 months. If you installed a battery but you notice that the display
is flashing, your battery is exhausted and should be replaced.
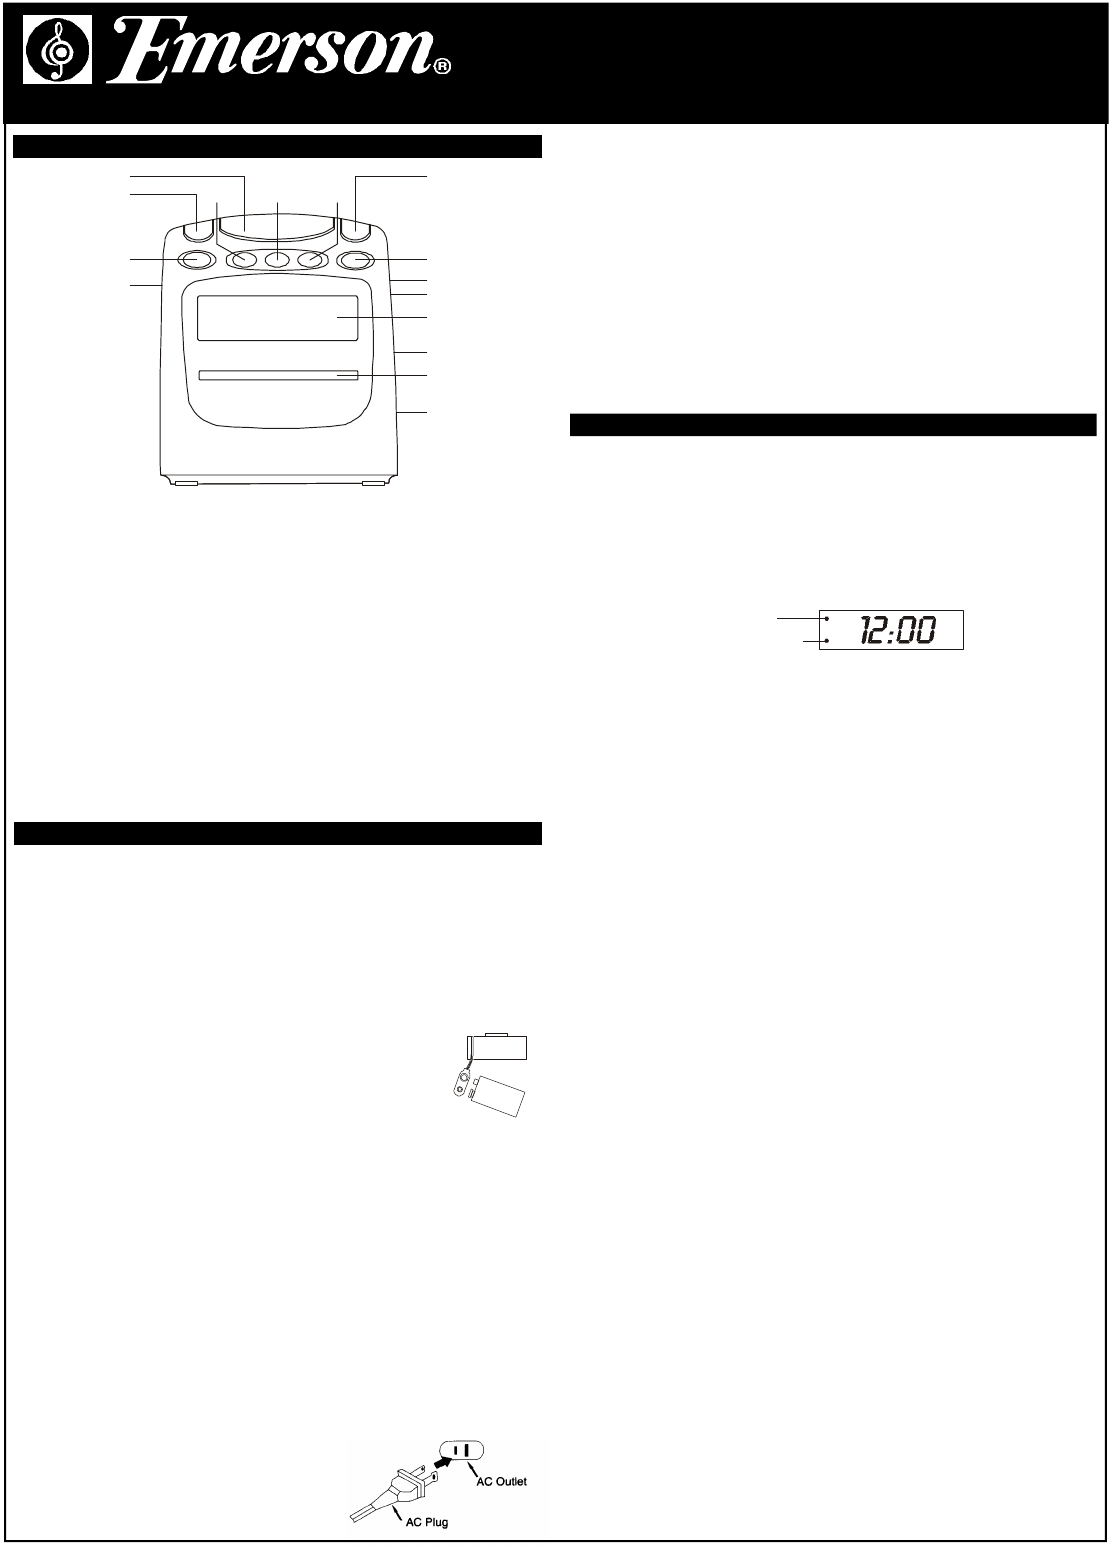
POWER SOURCE
This radio operates on 120V, 60Hz AC house
current only. Unwind the AC power cord and
connect the plug to any conveniently located AC
outlet.
AM/FM Clock Radio with 0.9” Display
MODEL : CK9902
15
14
13
12
11
10
9
8
7 6 5
4
3
2
1
NOTES:
1.) This radio uses a polarized AC plug which has one blade wider than the other.
This plug will only fit into a polarized AC outlet. This is a safety feature. If the
plug will not fit, you may have an older non-polarized AC outlet. Do not defeat
the safety feature by trying to file the wider blade, or replacing the plug. Contact
an electrician to replace your outdated outlet.
2.) Do not connect this unit to an AC outlet which is controlled by a wall switch. The
AC outlet should be ‘live’ at all times.
ANTENNA INFORMATION
FM - The FM antenna is built into the AC power cord. Be sure the AC power cord
is fully unwound and extended to its full length for best FM reception.
AM - The AM ferrite bar antenna is inside the radio cabinet. If AM reception is noisy
or weak, try turning the radio slightly until the bar antenna is pointing towards
the transmitter. Experiment until you find the position which provides the
clearest reception.
SETTING THE TIME
• Press and hold the CLOCK and HOUR buttons to advance the display to the
correct hour.
• Press and hold the CLOCK and MINUTE buttons to advance the display to the
correct minute.
NOTE: If the AM Indicator in the upper left corner of the display is ‘On’, the time
displayed is “AM”. If the AM Indicator does not appear in the display, the
time displayed is “PM”. Be sure to set the time correctly for AM or PM.
LISTENING TO THE RADIO
• Press the RADIO ON button.
• Slide the BAND selector to the desired position - AM or FM.
• Select the desired station with the TUNING control.
• Adjust the VOLUME control to the desired level.
• Press the SNOOZE/SLEEP OFF/RADIO OFF button to shut the radio ‘Off’.
SETTING THE WAKE-UP TIME
• Press and hold the ALARM and HOUR buttons to set the desired wake-up hour.
• Press and hold the ALARM and MINUTE buttons to set the desired wake-up
minute.
NOTE: If the AM Indicator in the upper left corner of the display is ‘On’, the wake-
up time displayed is “AM”. If the AM Indicator does not appear in the display,
the wake-up time displayed is “PM”. Be sure to set the wake-up time
correctly for AM or PM.
WAKE TO RADIO
Set the wake-up time as indicated above. Also tune the radio to the band and station
that you want to hear at the wake up time, adjust the volume if necessary, and shut
the radio ‘Off’.
• Slide the ALARM selector to the RAD (Radio) position.
• At the selected wake-up time the radio will begin to play. It will continue for
1 hour and 59 minutes and then shut off automatically and reset itself for the
following day.
• To stop the radio sooner, press the ALARM RESET button. The radio stops
immediately and resets itself for the following day.
• To cancel the wake to radio function slide the ALARM selector to the ‘Off’
position.
WAKE TO BUZZER ALARM
Set the wake up time as indicated above.
• Slide the ALARM selector to the BUZ (Buzzer) position.
• At the selected wake up time the buzzer tone will come on. It will continue for 1
hour and 59 minutes and then shut off automatically and reset itself for the
following day.
• To stop the buzzer sooner, press the ALARM RESET button. The buzzer stops
immediately and resets itself for the following day.
• To cancel the wake to buzzer function slide the ALARM selector to the ‘Off’
position.
SNOOZE / REPEAT ALARM
If you need a few extra minutes sleep after the alarm comes on, press the SNOOZE
button once.The radio or buzzer alarm stops for 9 minutes and then turns on again.
This procedure can be repeated many times if necessary. Each time the SNOOZE
button is pressed the alarm shuts off for 9 minutes and then comes on again.
NOTE: The Snooze / Repeat Alarm operation will function for up to 1 hour and 59
minutes after the alarm comes on. After 1 hour and 59 minutes the alarm
no longer repeats.
9
V
O
L
T
OPERATING INSTRUCTIONS
CLOCK DISPLAY
AM Indicator
ALARM Indicator
Visit our web site at “www.emersonradio.com”