


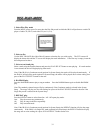
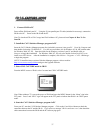
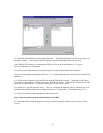

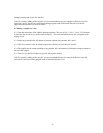

6.2.3 Select the CD-ROM drive as the SOURCE directory. The track information of the disc will be shown in
the display window. Also select the DESTIN directory into which the captured files will be saved.
Note: If the DESTIN directory is not designated, all files will be saved in the directory of C:\program
files\cavs\JBManager\work by default.
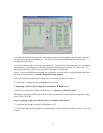
6.2.4 Click to place check marks on each of the songs you wish to capture and enter the song titles.
Note: If you have captured the graphic data in Step 1 , it is recommended that the same song title be used for the
audio data.
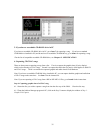
6.2.5 Click on Option button to select the MP3 bit rate and CD-ROM drive speed. The quality of MP3 music
will improve with a higher bit rate and/or a slower CD-ROM drive speed. MP3 data file size however will also
increase with a higher bit rate. The default settings are 128 kbps and 16x speed.
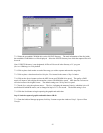
6.2.6 Set the Sync using the up down arrows. The Sync, indicating the amount of time by which the lyric will
scroll ahead or behind the music, can be changed in steps of 1/75 of a second. The default setting is zero.
6.2.7 Click Send button to begin capturing the audio data into PC.
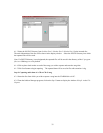
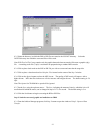
Step 3: Send the captured graphic and audio data to the JB-99
6.3.1 From the Jukebox Manager program, click Step 3 button to open the window of Step3: Captured Data
Transfer.
40