


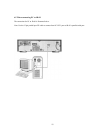


1. Connect JB-99 to PC
Power off the JB-99 and your PC. Using the 25 pins parallel port FX cable (included in accessory), connect the
JB-99 to the PC. Power on the JB-99 and the PC.
Note: To download CD or CD+G songs into JB-99 without a PC, please refer to Chapter 8. How To Use
DataCD.
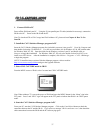
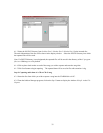
2. Install the CAVS Jukebox Manager program in PC
Insert the CAVS Jukebox Manager program disc (included in accessory) into your PC. Go to My Computer and
then double click on the CD-ROM drive. You will see two folders, one for Windows 95, 98, ME, and the other
for Windows 2000, NT, XP. Open the folder for the Windows version of your PC and double click on
Setup.exe to begin the installation. For Windows 2000, NT, XP only, also double click on Port95NT.exe to
install a new LPT1 driver. After the installation is complete, click on Start – Programs – CAVS – JBManager
to begin the program.
NOTE: To install the latest version of Jukebox Manager program, visit our website
http://www.cavsusa.com/jb-99.htm and go to the Upgrade Software.
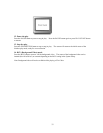
3. Select CDG CAPTURE mode in JB-99
From the MENU screen of JB-99, select 3 to enter into CDG CAPTURE mode.
Note: When without a TV, turn on the power of JB-99 and press the MENU button for the “Menu” sign in the
FLT panel. Press 3 and “SEL3” sign will appear on the FLT panel to indicate that JB-99 is in CDG Capture
mode.
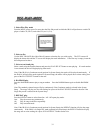
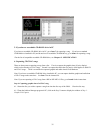
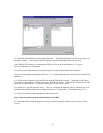
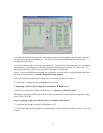
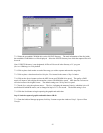
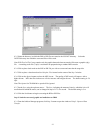
4. Start the CAVS Jukebox Manager program in PC
From your PC, start the CAVS Jukebox Manager program. Click on the Conn/Refresh button to check the
connection between the PC and the JB-99. If you receive a message "JB-99 connection error", then check the
cable connections between the JB-99 and the PC before trying again.
37