Congratulations on your purchase of the
AudioSource AS6s In-Wall Speaker System. This
product is designed to reproduce the audio portion
of your home entertainment environment with
accuracy and detail that will satisfy the most
discriminating listener.
Please read this Installation Manual to ensure the
proper installation and performance of your AS6s
speakers.
Preparing for your Installation
Gather the necessary tools for you installation.
You will need the following tools:
1) A Keyhole or Drywall Saw
2) A Phillips Screwdriver
3) Masking Tape
4) A Pencil
5) A Bubble or Laser Level
6) A Tape Measure
7) A Stud Finder (recommended)
8) Your AS6s speakers
Placement
Plan your speaker placement carefully. Make certain
that electrical, plumbing and any other services will not
interfere within the walls where you plan to place your
speakers. The AS6s speakers can be mounted in the
walls or in the ceiling, but are typically used in walls.
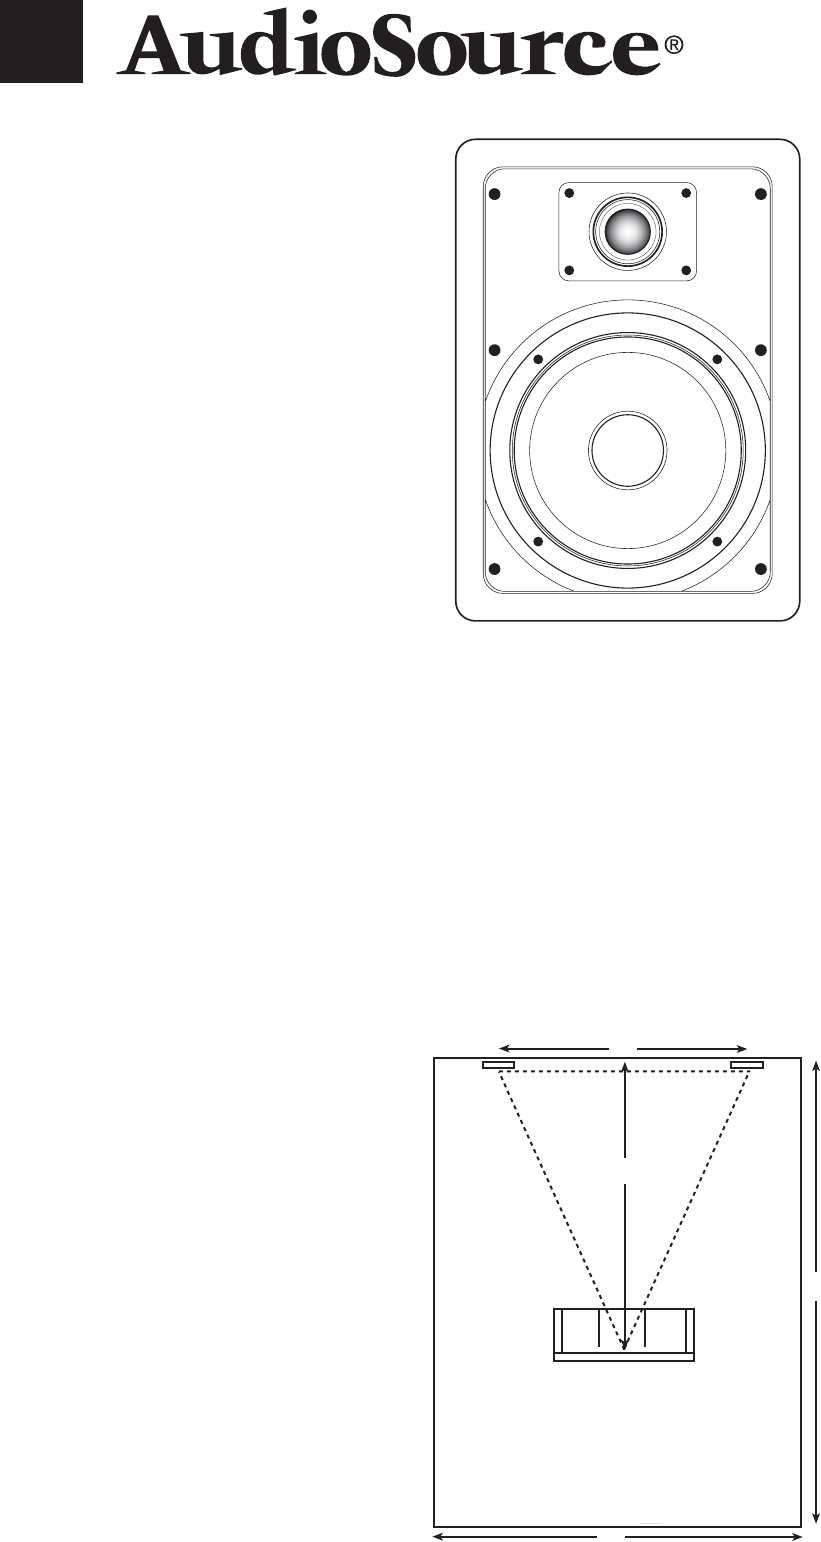
The speakers should be located so that they provide
even coverage at you listening position. The distance
between the speakers should not be greater than the
distance from the speakers to the listening position.
(see fig. 1) If the room’s dimensions or furniture
placement prevent adhering to this requirement, the
tweeters in the AS6s speakers can be swiveled to aim
them at the desired listening position. Speaker height
should be maintained at ear level or just above. Again,
the tweeters may be aimed into the listening area.
New Construction
If you are installing your speakers in new construction
before the finished walls go up, AudioSource offers a
New Construction Bracket, part NCBI6 that provides a
stable frame that can be fastened to the wall studs on
16” or 24” centers. This allows the sheetrock or other
wall covering to be installed and cleanly leave the
opening for the AS6s speakers.
AS6s
In most modern buildings the wall studs are positioned
on 16” centers, providing a space between the studs of
approximately 14 3/8”. The AS6s requires a mounting
hole 7 5/16” wide and 10 11/16” high. Additionally, you
should allow an extra 3/4” in all directions behind the wall
surface to allow room for the doglegs that retain the
frame to the wall surface to swing into position.
Use a stud finder to locate the vertical studs behind the
wall surface. Also, you should now check for
obstructions like cross bracing above and below the
desired speaker location.
6.5” 2-Way In-Wall Speakers
11’
16’
20’
12.5’
Figure 1
Existing Construction
AS6s


